It took quite a while to square all of the mortices, but before I went from working on the bottom to the top I decided to do things a little differently. Instead of drilling out the holes I used a router and guide with a up-cutting spiral bit. This worked better and I didn't have to worry about tear out. I still had to switch the jig from top to bottom, but that wasn't much of problem anyway. I would recommend this method over drilling. The router set up looks like this. You simply plunge in and run the router around the jig riding on the round surface on the bottom center of the router.

I still have a good bit of fitting to do. The tenons are very tight. This is a difficult joint and this many surfaces are difficult to get exactly right without being loose. There are, after all, 36 surfaces on each side of one board. That's 142 with both sides of both boards. Just the friction is hard to overcome. The good thing is that only the top really matters. That is what shows and it will be very evident. So, I'm generally working from the underside and avoiding the top. Overall, the jig worked terrifically - it is just very tight.
The next things to do are mill the dado for the front piece and put in the dovetails for the drawer dividers. Milling the dado was a quick job. I also noticed I had about 1/16" difference on the width of the top and bottom so I clamped the two together and mated the surfaces with a plane.This is the dado, or groove, for the front piece. The board will fit into this groove and it will hide the mated surfaces and hold the board in place.

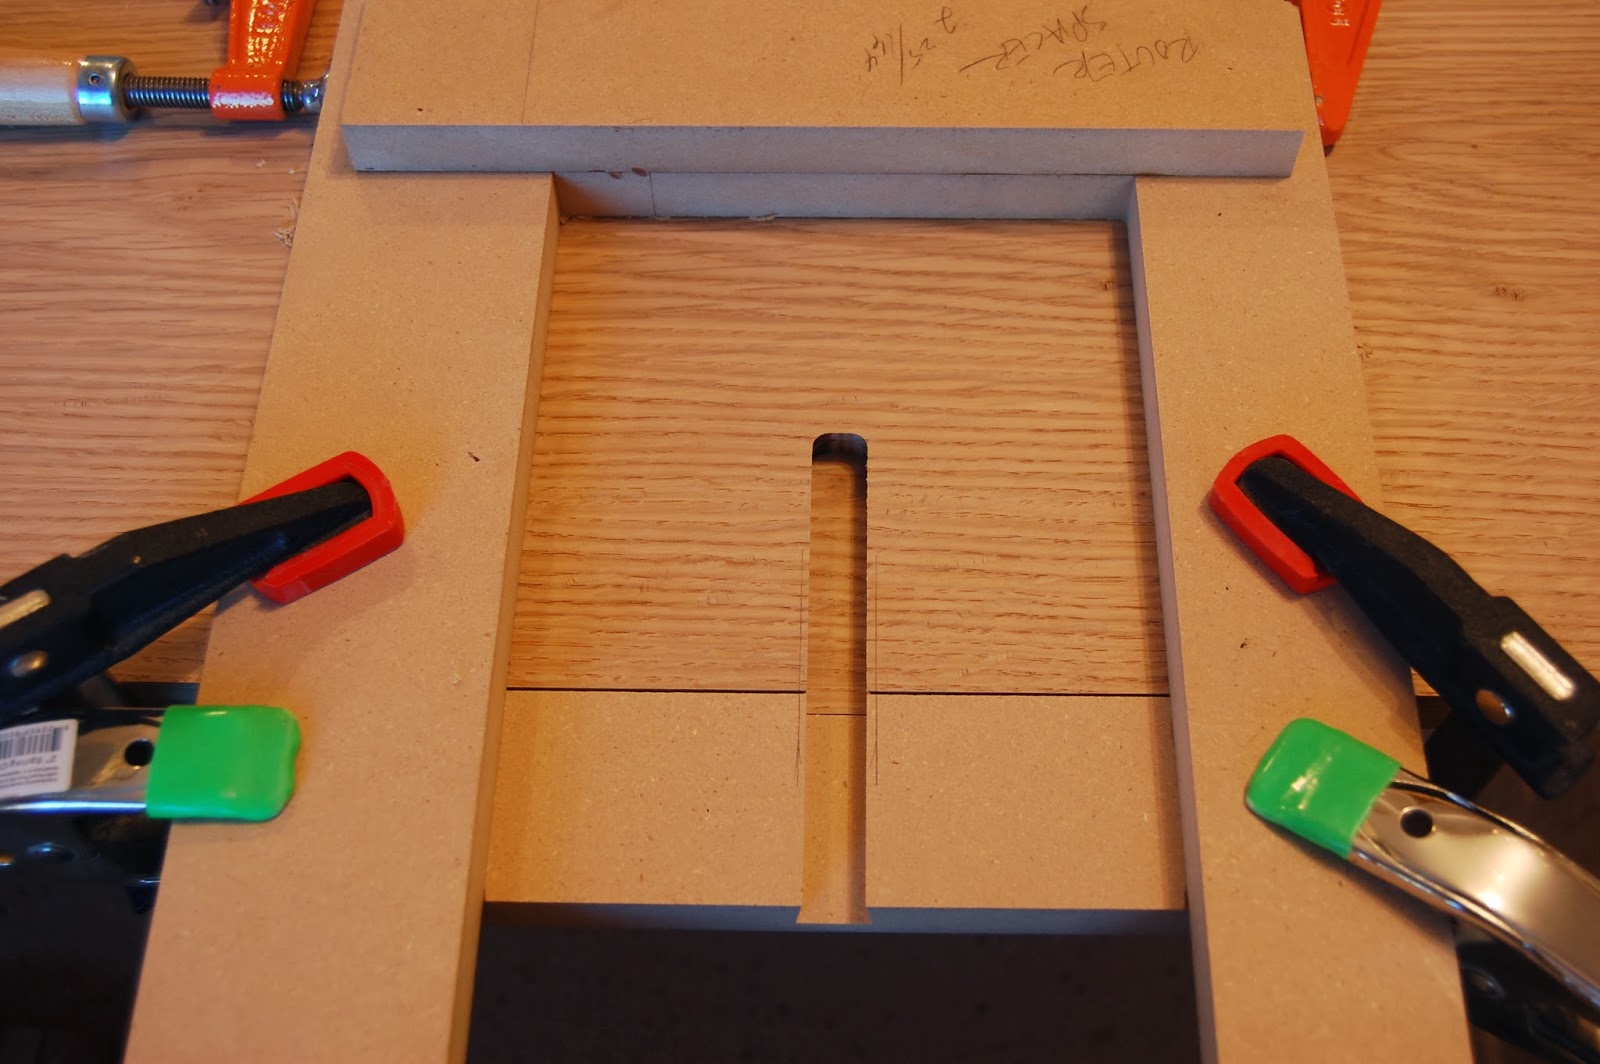
The dovetails are a bit harder to set up. I have to make another jig. You make a lot of jigs in woodworking. I need to make a dovetailed groove for the drawer dividers to sit in. Here's the drawing.
This kind of dovetail is called a sliding dovetail. I will first make the slot so I can fit the dovetail to the slot. For the jig I simply need a stop around 3" deep and two sides which will limit the width. My bit is 1/2 wide so if the divider is 3/4" wide I need a jig about 3/8" wider than my router. This is the result.
I made the depth of the cut at 1/2" so I need the length of the divider 1" longer than the inside measurement of my desk, or 6 1/4". A piece is cut so length, but only rough width and then run though the router table using the same bit.
That looks like this. You simply dial in the height and then run the piece through until it fits. In this case, I went a tad to far and had to mill up another. Sliding dovetails are very finicky and go from too tight to too loose at astoundingly small increments. Long sliding dovetails which usually have a taper so you don't have too much friction are all kinds of trouble.
Here's what these look like when installed. They are pretty simple. I had to trim the dovetail off the inside and cut them to width.
Next, I milled up the front piece which fit in the groove I made earlier. It also fits into a dado on each of the toothed pieces. Being very careful with the layout I marked up both pieces directly off the top and bottom.
Next, some hand work. Sometimes, it's safer and easier to just do some things by hand. It's always more satisfying. I wanted to show how to do a handcut dado. Hand skills are an important part of building anything worthwhile.
First scribe the line with a marking knife and then followup in the cut with a long chisel.
Next, come inside the line and make a small valley which will act as a guide for the saw.
Next, saw the line to the depth of the dado.
Now, hog out between the lines. This isn't pretty - just get rid of the wood you don't want.
Next, I use a router plane. These are handy (but expensive) planes that excel at this job.
After about 10 minutes total work the front can be fit in - dead straight and even.
I'm nearly done with all the milling and cutting on the top. After a bit more work I can cut the holes for the legs. I'm still thinking about that. I will turn the legs first.
Leave A Comment
Hey! Leave a comment - good, bad, short, long, whatever. I'd like to hear from you.


No comments:
Post a Comment