
The next items to make are the stretchers for the front. These separate the two drawers and the area with the doors. In modern furniture it is typical to have one at the top too, but the Victorian pieces have no top stretcher so I will not use one either. Mortises are first cut into each leg. This is accomplished on, of all things, a mortiser. Basically, this is a drill that cuts a square hold. Set-up takes a while, but once you get it going the holes go quickly . The depth of each mortise should be slightly deeper than the tenon. If you call it too close the shoulder won't sit tight against other member. This also leaves a small space of the extra glue that will be pushed in at assembly.
Once the square mortises are cut they are then cleaned with a sharp chisel in preparation to receive the tenons. Next, I mill up the stretchers and cut the tenons on each end. The bottom stretcher is larger as a design element. This gives the base a sturdy feel and supports the wood on the bottom.
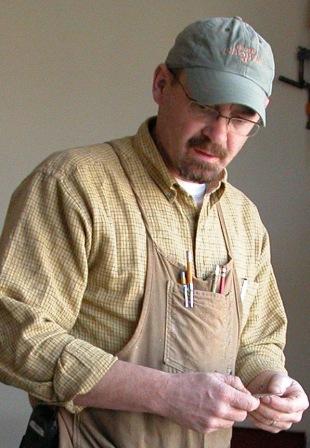
Although, it may look like I use only machines every piece get tuned by some quick hand work. These pictures show trimming the tenon so that it is just the right size and flushing the shoulder so it sets perfectly flush. I set the plane blade to remove .002 with each pass. Obviously, it is better to make the parts slightly oversize and then fit them. It is kind of hard to add once cut!

WOOPS! I'm always ripping myself up with the hand tools!
Now to check it out. This is the basic carcass hastily assembled without glue. That will be later.


Friday, December 29, 2006
Night stand - the carcass comes together (post four)
Subscribe to:
Post Comments (Atom)


No comments:
Post a Comment